Blogging has changed in numerous ways since it began to gain widespread popularity over a decade ago and one of the biggest changes during that time has got to be the steady transition towards video content.
Traditionally blogs were always a text-based medium, but as connection speeds have increased and streaming online video gradually became the norm – having video content on blogs in the form of embedded streams has certainly caught on. After all, you only need to host the video on YouTube or some other similar platform and then paste the embed code into your blog – what could be easier?
Planning the Content
Of course the tough part about developing video content for a blog isn’t embedding the video but actually creating it in the first place. And before you can even start to record, you need to plan the type of content you’re going to create.
Some of the common types of video content that do well on blogs are:
- Instructional ‘how to’ video guides and tutorials that help show viewers how to perform a certain task or procedure.
- Product reviews or ‘unboxing’ videos that go over a particular product and show viewers what it is all about and what its features are.
- Interviews with ‘authorities’ and experts that give viewers the opportunity to find out qualified opinions about certain topics.
Depending on the niche you’re in, you may find that one type of content is more suitable than the rest. Whatever content you do eventually settle on, you should then either script out the video or at very least outline what you intend it to encompass.
Creating the Video
Once you do actually get round to recording the video footage that you need and creating the video – you’ll find that there are lots of options you can pursue. For example, you could capture the video footage directly from your screen (which is particularly suitable for some types of video guides) or you could record it from a webcam.
Also, there are countless other areas that you need to look into as well, such as the background music, voiceover, special effects and filters, transitions, and much more. In fact it is safe to say that you will want to edit and trim out unwanted parts of your video as well – and then maybe even re-record some parts too until you’re satisfied.
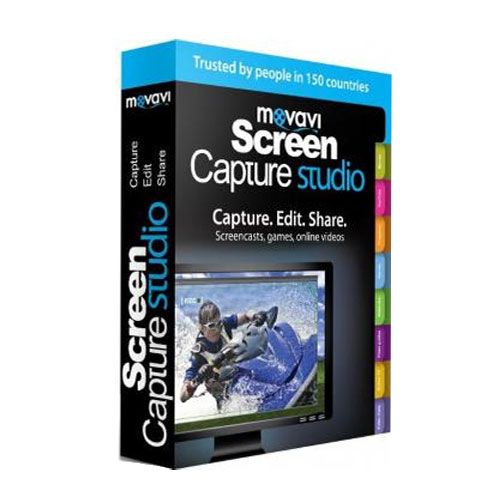
While all this may feel a little bit daunting, with the right software it really doesn’t have to be. The Movavi Screen Capture Studio will let you screen grab video footage and then edit it to perfection by jazzing it up and polishing it to look professional. The best part is that it is so intuitive that you’ll be able to use it even if you have no prior experience.
Using the Movavi Screen Capture Studio will give you access to its features that include the ability to cut the videos you capture into multiple parts to get rid of unwanted segments or reorganize them, enhance the video quality, and add subtitles as well as background music, and all the special effects or filters you could desire.
When you’re done you can even automatically optimize your video for specific devices or platforms – even if you don’t know the first thing about video formats or settings. Just choose one of the hundreds of presets that are available and let the software do the rest.
If you take the time to plan your content and make sure that you also keep tweaking and editing your video until it’s just right you should definitely be able to come up with the kind of videos that your blog readers will appreciate.

You can also stay updated by subscribing to iTechCode.